

As education continues to evolve in the digital age, creating engaging and effective educational videos has become an essential skill for modern teachers. Whether you're teaching remotely, implementing a flipped classroom model, or simply supplementing traditional instruction, well-crafted videos can dramatically enhance student learning and engagement.
This guide will walk you through the process of creating educational videos that capture attention, promote understanding, and inspire your students.
Planning Your Educational Video
Before you start recording, careful planning will save you time and result in a more effective final product:
Define Clear Learning Objectives
Every educational video should begin with specific, measurable learning objectives. Ask yourself: What exactly should students know or be able to do after watching this video? Limit each video to 1-3 clear objectives to maintain focus and prevent cognitive overload.
Know Your Audience
Tailor your content to your students' age, knowledge level, and learning needs. Consider their attention spans, vocabulary, and relevant interests that might help make the content more relatable.
Create a Script or Outline
Even experienced teachers benefit from planning their video content in advance. A complete script ensures you cover all key points while maintaining appropriate pacing, while an outline offers more flexibility while still providing structure.
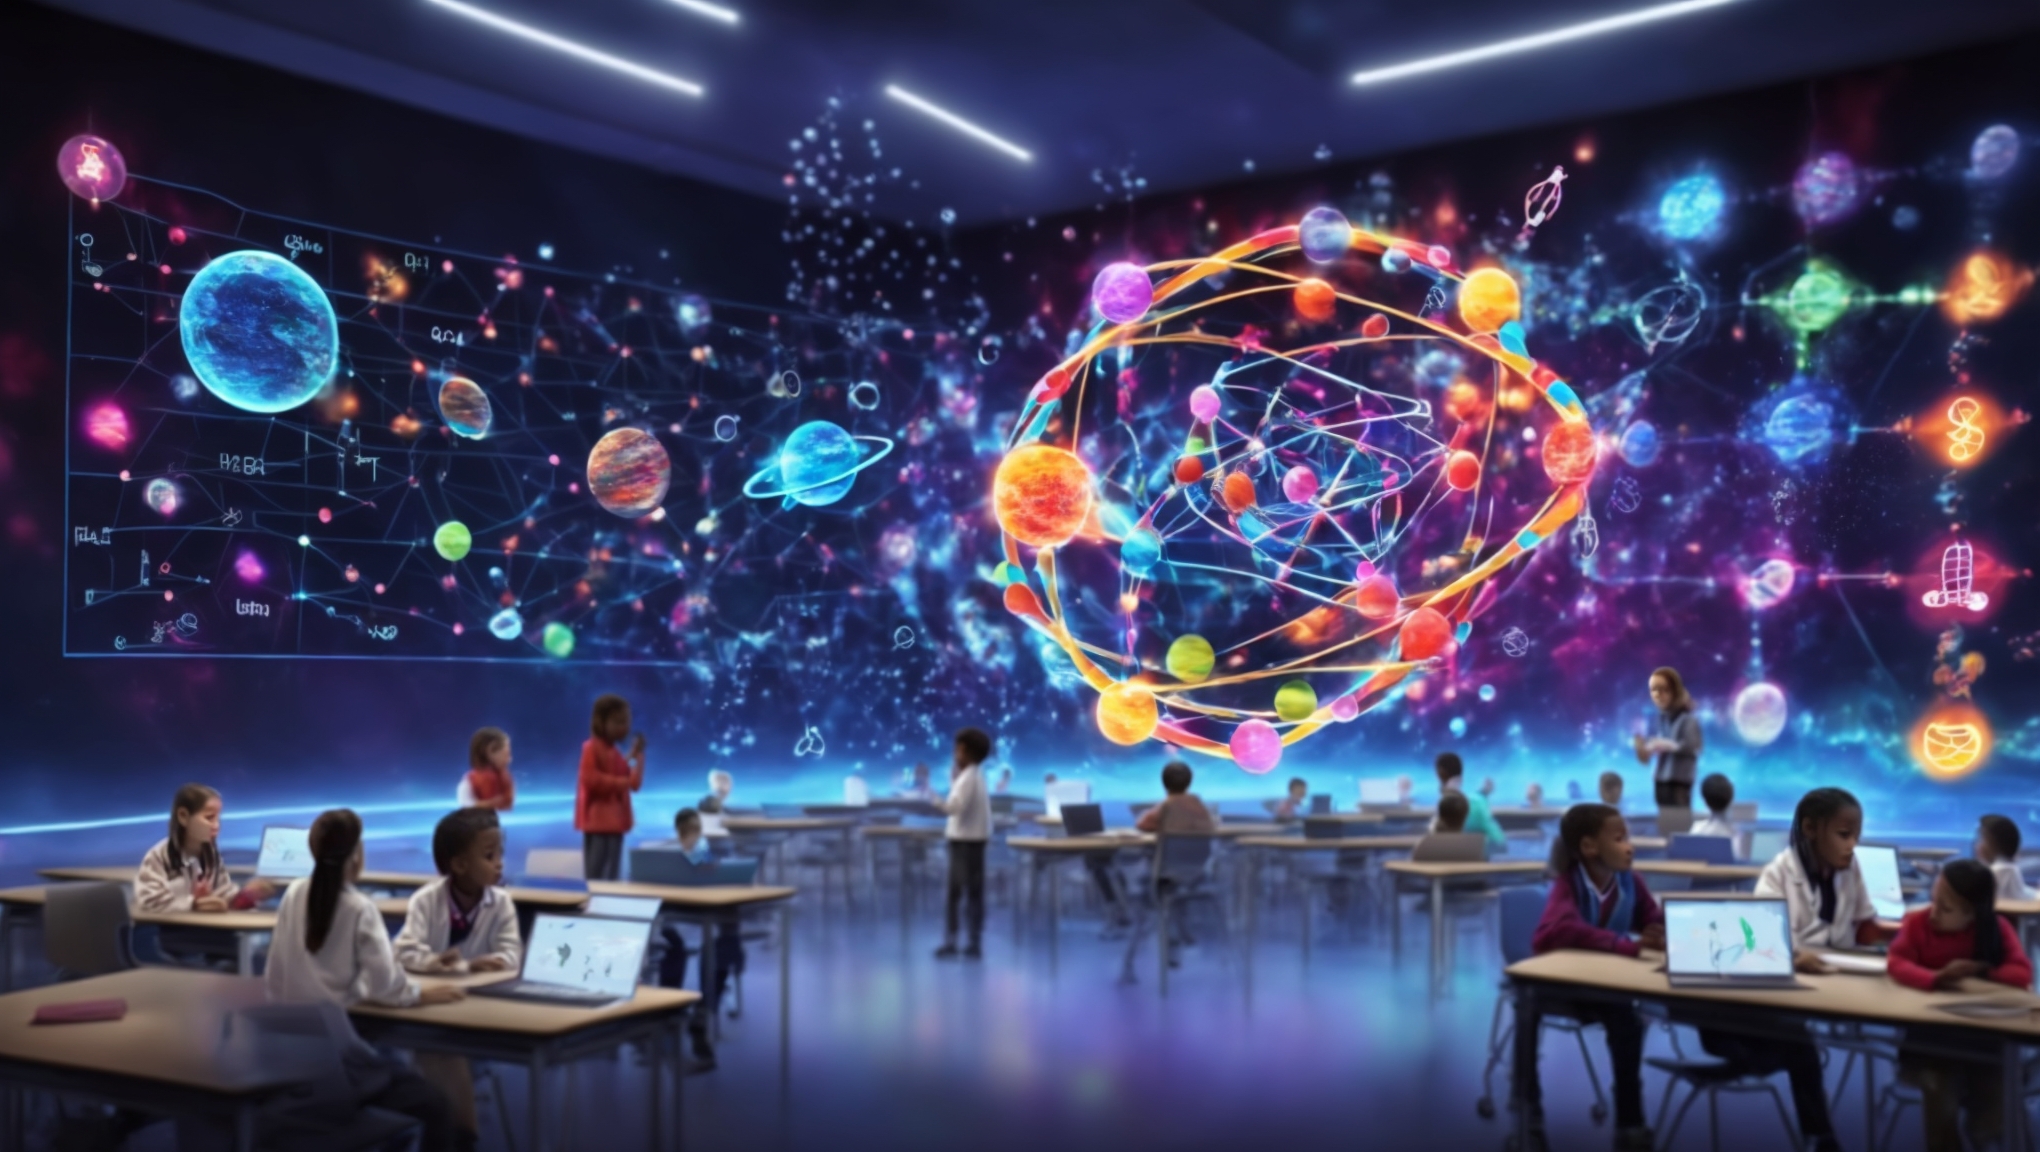
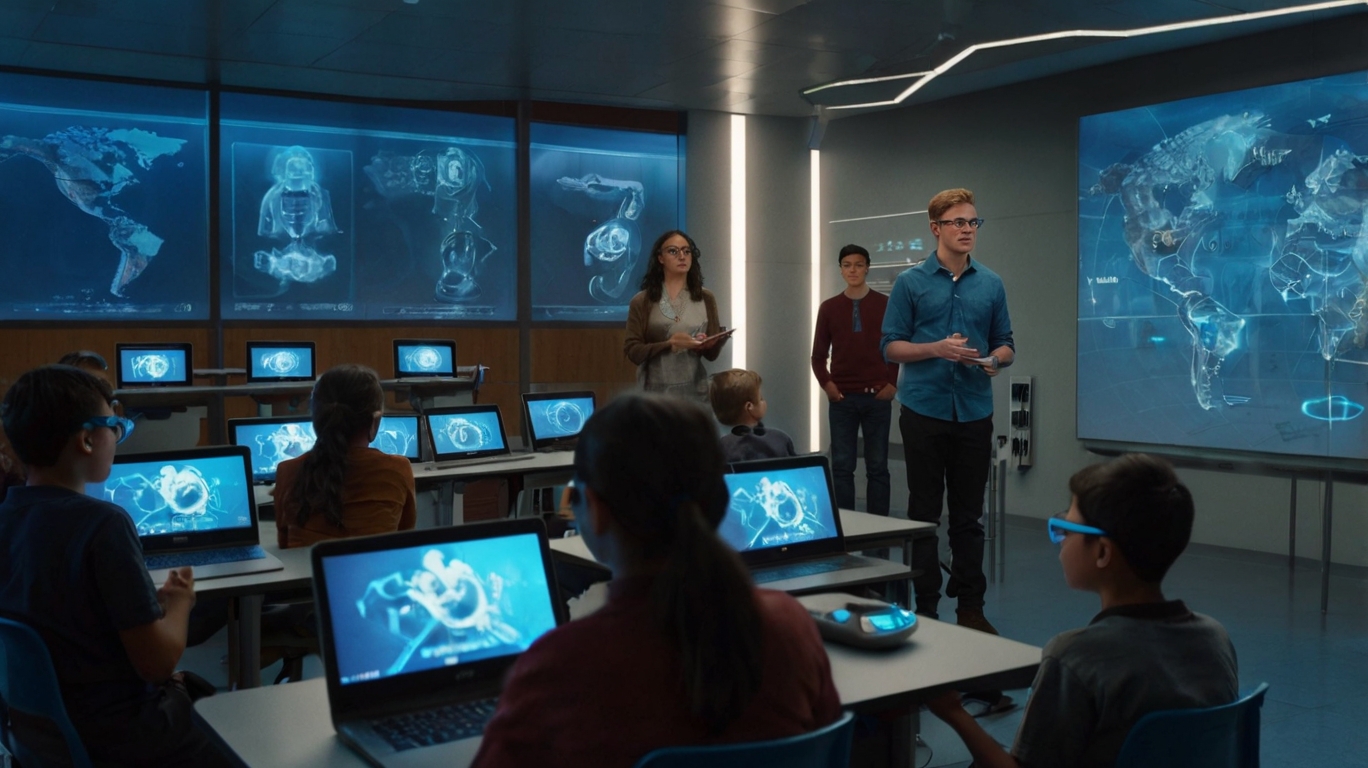
Plan Your Visual Components
Identify what visual elements will best support your teaching: slides, screen captures, physical demonstrations, animations, or a combination. Remember that visuals should enhance understanding, not just decorate.
Equipment and Technical Considerations
You don't need expensive equipment to create effective educational videos, but some basic technical considerations will significantly improve quality:
Audio Quality
Clear audio is actually more important than perfect video quality. Use an external microphone if possible, record in a quiet environment, and consider using simple sound absorption techniques (like recording in a closet with clothes or using blankets to dampen echo).
Lighting
Proper lighting makes a tremendous difference in video quality. Position yourself facing a window for natural light, or use simple desk lamps positioned at 45-degree angles from your face. Avoid harsh overhead lighting or backlighting that creates shadows.
Camera Placement
Position your camera at eye level to create a natural perspective. If using a laptop, place it on a stack of books to achieve the right height. For smartphone recording, invest in an inexpensive tripod or phone mount.
Recording Software
For screen recordings, tools like Screencast-O-Matic, Loom, or OBS Studio offer free or affordable options. For slide narration, PowerPoint and Keynote both have built-in recording features.
Structure and Delivery
The way you structure and present your content significantly impacts student engagement and comprehension:
The Perfect Length
Research consistently shows that shorter videos are more effective. As a general rule:
- K-5 students: 3-5 minutes maximum
- Middle school: 5-8 minutes
- High school: 6-12 minutes
- Higher education: 10-15 minutes
If you need to cover more material, break it into multiple videos rather than creating one long presentation.
Strong Openings
Capture attention in the first 15 seconds by:
- Posing an intriguing question
- Presenting a surprising fact or statistic
- Connecting to a real-world problem or scenario
- Clearly stating what students will learn and why it matters
Clear Organization
Help students follow your presentation with:
- An agenda or overview at the beginning
- Clear transitions between topics
- Visual cues or headings to signal new sections
- Periodic summarization of key points
- A final recap connecting back to learning objectives
Engagement Techniques
Keep students mentally active while watching by:
- Incorporating pause points with reflection questions
- Using relevant examples and analogies
- Varying your delivery style and visual presentation
- Including occasional humor where appropriate
- Addressing common misconceptions directly
Visual Design Principles
Effective visual design enhances learning without distracting from your content:
Slide Design
If using slides or visual aids:
- Limit text to key points (6 words per line, 6 lines per slide maximum)
- Use a consistent, readable font (at least 24pt)
- Maintain high contrast between text and background
- Use simple, meaningful visuals that directly support learning
- Apply a consistent color scheme and layout
Animation and Motion
Use animation purposefully to:
- Reveal information progressively to control focus
- Illustrate processes or relationships
- Highlight key elements
- Show change over time
Avoid decorative animations that don't serve a learning purpose.
Text and Graphics
Balance your narration with on-screen text by:
- Using text for key terms, definitions, and main points
- Avoiding lengthy text that duplicates your narration
- Incorporating diagrams, charts, or illustrations for complex concepts
- Using visual cues like arrows or highlighting to direct attention
Delivery Style
Your presentation style significantly impacts how students engage with your content:
Speaking Naturally
Even when following a script, aim for a conversational tone that feels personal and authentic. Speak at a slightly slower pace than normal conversation, with deliberate pauses after important points.
Enthusiasm and Energy
On camera, you'll need about 20% more energy than in-person teaching to convey the same level of enthusiasm. Let your passion for your subject show through your voice, facial expressions, and gestures.
Personal Connection
Looking directly at the camera creates a sense of connection. Use "you" language to address students directly and incorporate occasional questions that prompt reflection.
Post-Production and Distribution
Simple editing can significantly improve your final product:
Basic Editing
Even beginner-friendly tools like iMovie, Windows Video Editor, or online platforms like WeVideo allow you to:
- Trim beginnings and endings
- Remove mistakes or long pauses
- Add text overlays for key points or terminology
- Insert images or additional visual elements
- Adjust audio levels for consistency
Accessibility
Make your videos accessible to all learners by:
- Adding accurate closed captions
- Providing a transcript
- Describing important visual elements verbally
- Ensuring adequate color contrast
Video Hosting and Sharing
Consider privacy and accessibility when choosing where to host your videos:
- School learning management systems provide security and integration
- YouTube allows unlisted videos accessible only to those with the link
- Vimeo offers more professional presentation and privacy options
- Google Drive or Microsoft Stream can work well for school accounts
Making Videos Interactive
Transform passive viewing into active learning by:
Embedded Questions
Tools like EdPuzzle, Playposit, or H5P allow you to embed questions directly into videos, requiring students to respond before continuing.
Accompanying Activities
Create guided notes, reflection questions, or application activities that students complete while watching or immediately after.
Follow-Up Discussions
Use video content as a springboard for in-class discussions, online forums, or collaborative activities that extend thinking.
Continuous Improvement
Refine your approach over time by:
Gathering Feedback
Regularly solicit student feedback on your videos through simple surveys or discussions. Ask specific questions about pace, clarity, and engagement rather than general impressions. Track which videos students rewatch or share, as this indicates particular value.
Analyzing Student Performance
Look for correlations between video design elements and student learning outcomes. Which videos preceded the strongest assessment results? Where did students still struggle after watching? Use these insights to refine your approach.
Iterative Improvement
Don't aim for perfection with your first videos. Start simple, focus on content quality, and gradually refine your production techniques as you gain experience. Consider updating older videos only when they contain outdated information or your skills have significantly improved.
Conclusion
Creating educational videos is both an art and a science. By focusing on clear learning objectives, thoughtful structure, engaging delivery, and continuous improvement, you can develop videos that not only convey information but truly enhance student understanding and motivation.
Remember that the most effective educational videos aren't necessarily the most polished or technically sophisticated—they're the ones that clearly communicate concepts, engage students actively, and inspire further learning. With practice and reflection, you'll develop a personal style and approach that works for your unique teaching context and students.
As you begin creating your own educational videos, start small, be patient with yourself, and focus on improvement over time. Your students will benefit from your efforts, and you'll develop a valuable skill set for modern education.

3 Comments
Leave a Comment